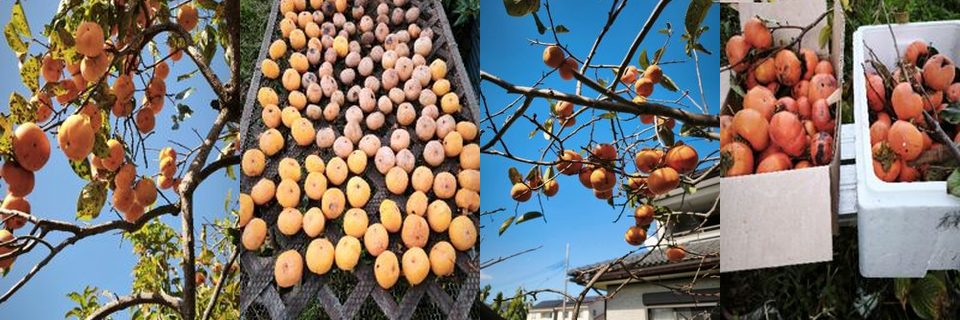
Autumn is here, and orange persimmons are lined up under the eaves at Sato Farms. It is time for our annual dried persimmon making!
We Now Have Just One Tree
Until last year, we had two persimmon trees—one in the yard and one in the field. However, to keep bears away from our town, we had to cut down the tree in the field. Safety comes first!
I thought we would harvest only half as much this year, but the remaining tree produced a lot of fruit. Birds also come to eat the sweet persimmons every day. We are very busy harvesting, peeling, and drying them before the birds take them all!
5 Steps to Make Dried Persimmons
1. Pick the persimmons
We climb the tree carefully because persimmon branches break easily.
2. Peel the skin with a peeler
It takes a lot of time, but working quietly helps clear the mind.
3. Put them in hot water for 30 seconds
This step prevents mold.
4. Dry them in the sun
This year, we spread them out on flat trays instead of hanging them on strings. It saves a lot of time!
5. Take care of them every day
We turn them over and protect them from birds while they dry.
Fun Fact: We Use Sweet Persimmons!
Usually, people make dried persimmons from sour ones (shibugaki). But our tree is a sweet type called Jiro-gaki.
Of course, they are also delicious fresh! At the local supermarket, one Jiro-gaki costs about 100 to 150 yen. They taste best when they turn reddish and get a little soft.
Dried or fresh, we enjoy the wonderful taste of autumn every year!